CLICK HERE FOR FREE BLOGGER TEMPLATES, LINK BUTTONS AND MORE! »
Showing posts with label Hair Styles. Show all posts

Saturday, September 3, 2011

The New Headband, Creative Thinking at Work

Hi to you all.  Heather and I have been brainstorming about the headbands we make. There has been a minor problem with the design and so we set out to fix it.  The picture below is a shot of the problem... This is the original design of the ends on the headbands. Looks pretty but the issue is, the ends grab and get tangled in the hair. It is not as bad as it sounds,  I have been waring the headbands this way for 2 years now and I find that I can put them in and take them out with ease. But when it comes to kids the ends seem to get more tangled then parents would like.  So we come up with a solution  all the headbands now will be covered in a smooth coating glittered for "pretty-a-fication" and dipped with the smooth coating again.  We have tested this and it works well.    The ends slip in and out easily.

So now we have a to sell all the headbands with the old design.  If any one would like to have a headband at 50% off come see the store. 

The New Design


Thursday, August 25, 2011

The W-I-N-N-E-R is...


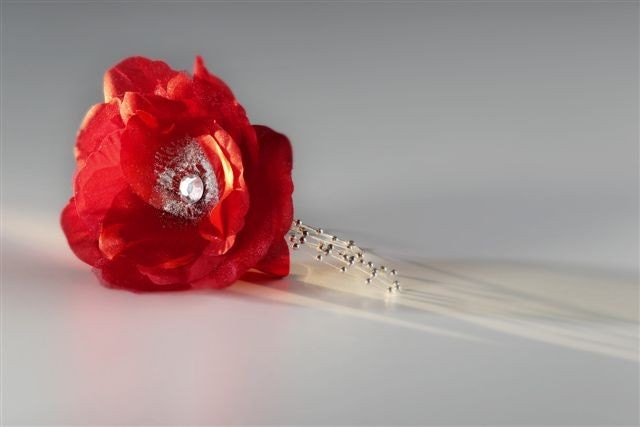
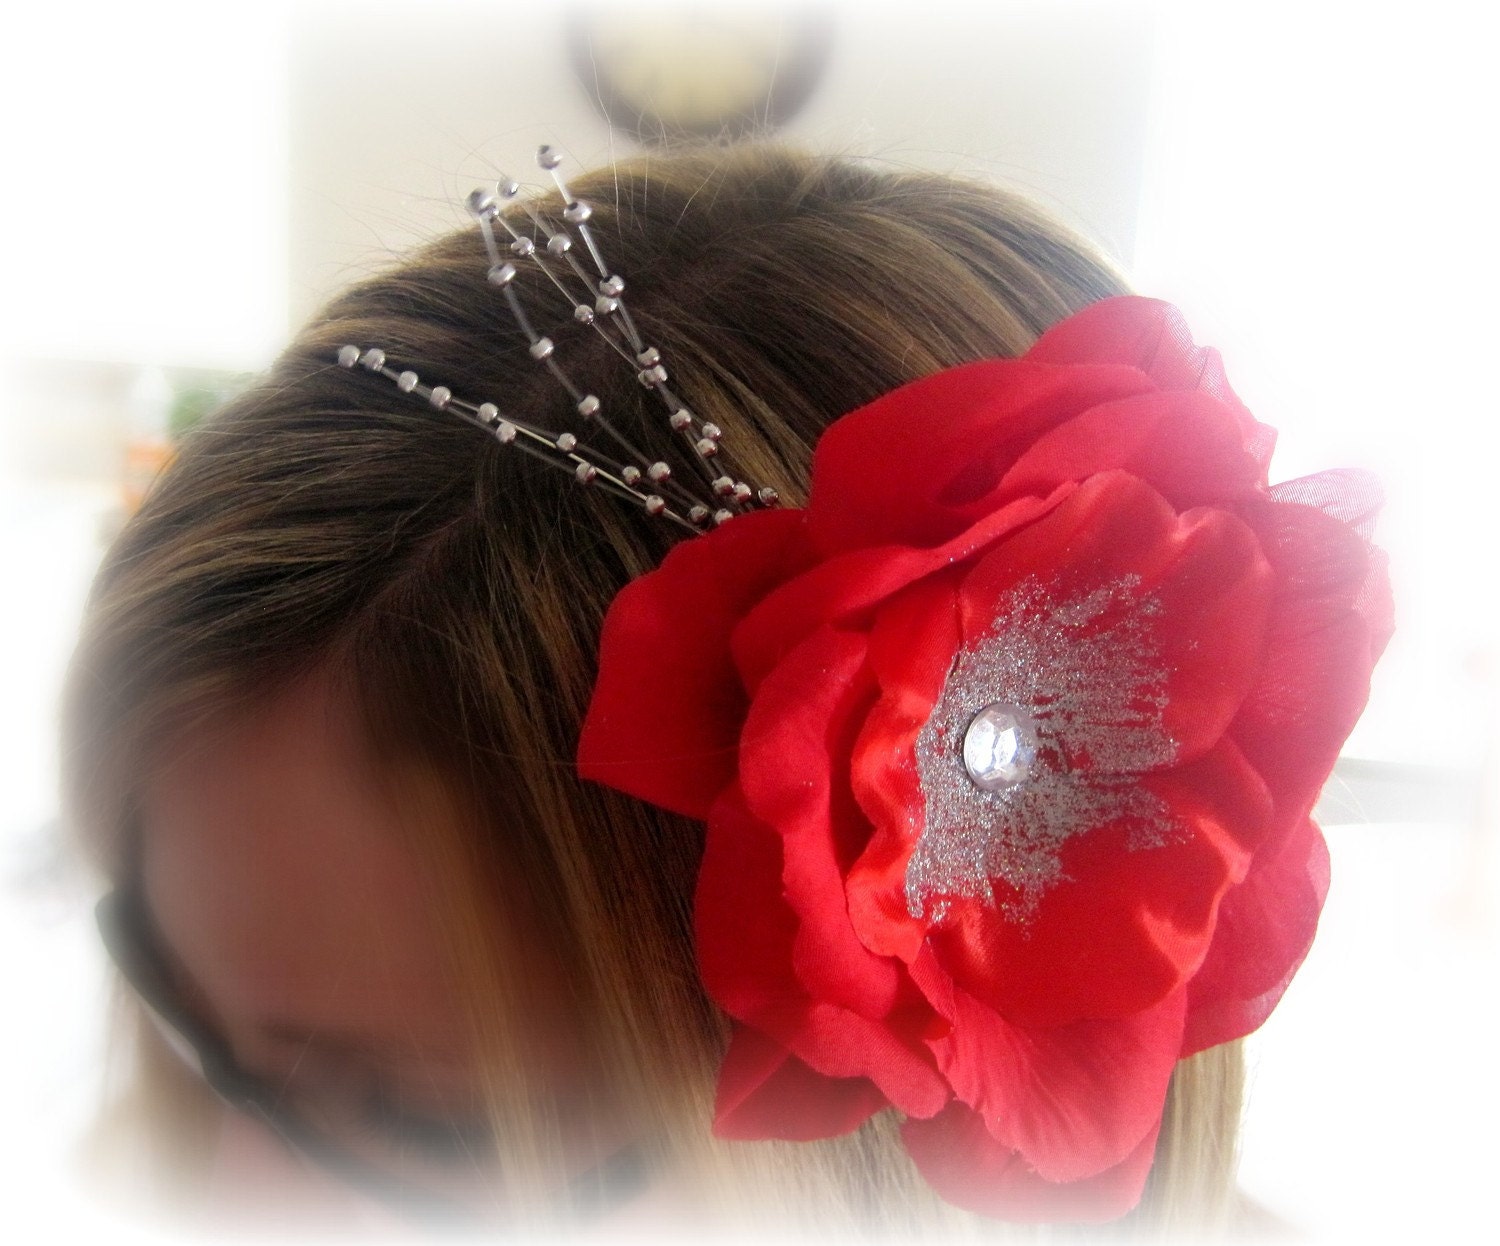
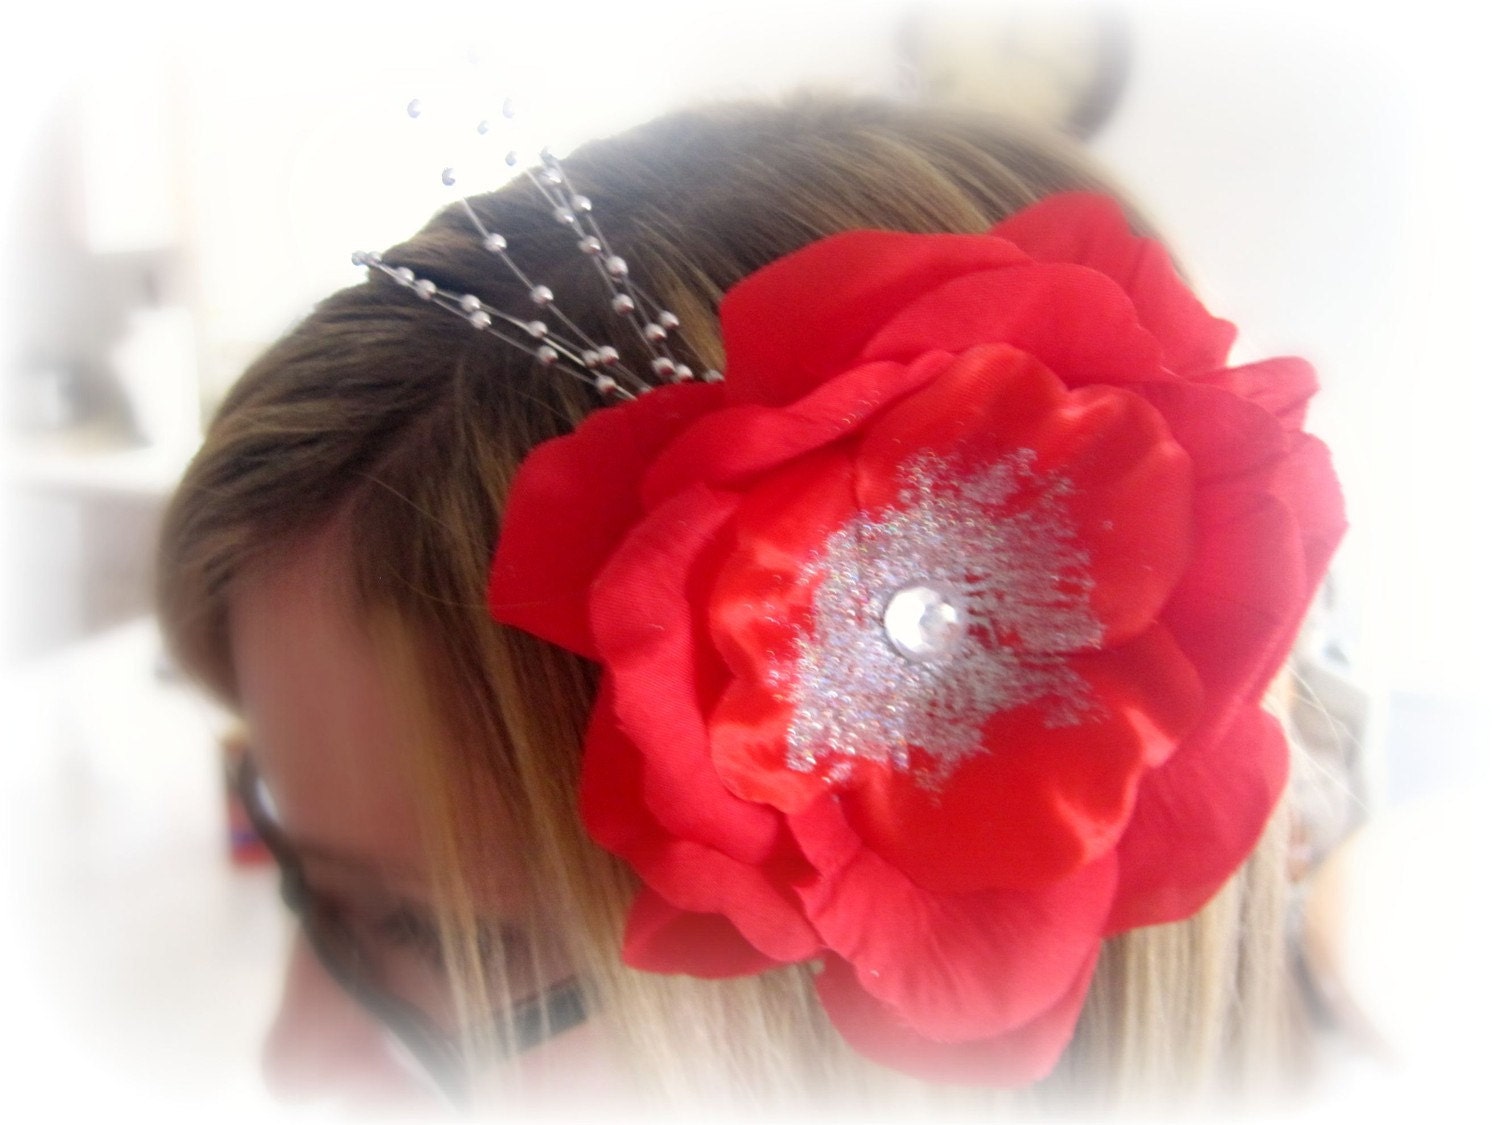
Red Flower Headband

Red Flower HeadbandRed Flower HeadbandRed Flower HeadbandRed Flower Headband

Congratulations!

Blogger Kadie said...

Thanks for letting me know about your great party!! I am sorry I missed your first one last week but I linked up this week. I am a following you now. And I would love to be in your giveaway. What a cute headband!


Thanks to everyone who entered, we hope to see everyone next week for another Crafty Lassie Tuesday Link Party. We will be having another giveaway!
Good Luck to everyone next week!

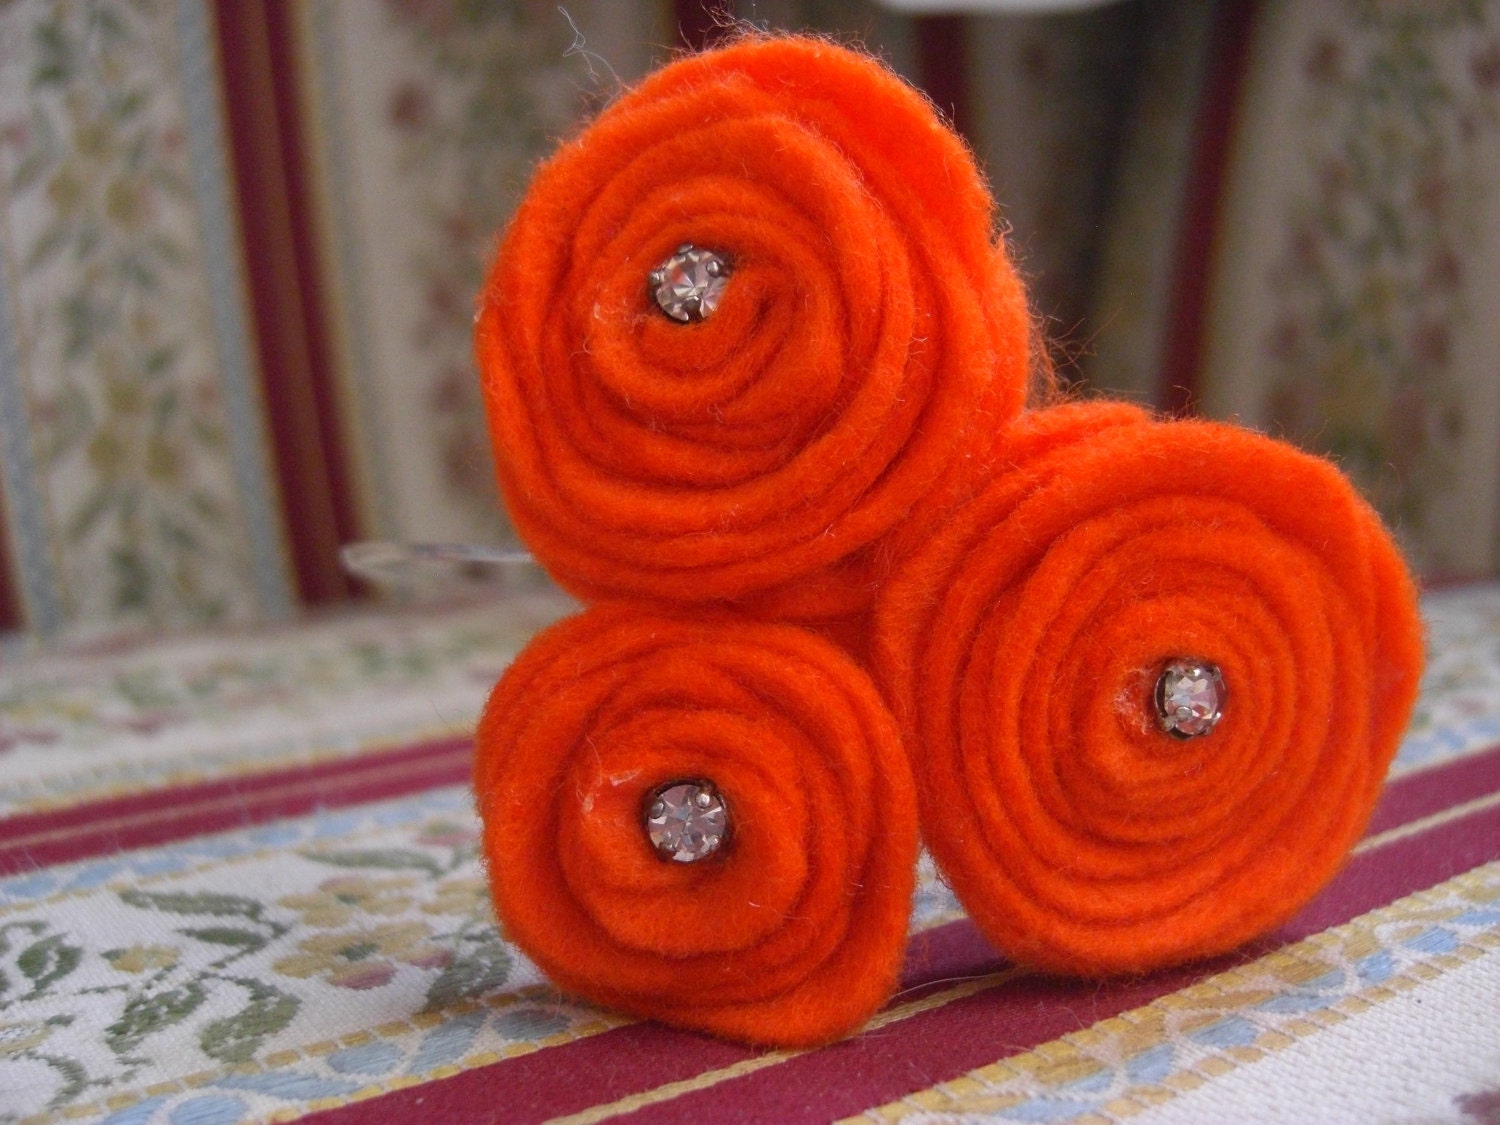
Triple orange felt flowers with vintage rhinestones Headband  It can also be worn in an updo and as a necklace.

Triple orange felt flowers with vintage rhinestones Headband  It can also be worn in an updo and as a necklace.Triple orange felt flowers with vintage rhinestones Headband  It can also be worn in an updo and as a necklace.Triple orange felt flowers with vintage rhinestones Headband  It can also be worn in an updo and as a necklace.Triple orange felt flowers with vintage rhinestones Headband  It can also be worn in an updo and as a necklace.

Both Headbands are for sale in our Sew Stylish Boutique Etsy Store.

Saturday, August 13, 2011

Retro Hair With Finger Waves


Hi to all our followers, and to those just stopping by, (happy to have you here) we have done your first ever guest blog :-D
We were invited to write a guest post for a lovely blog, Blissful And Domestic. Go check out her wonderful blog, we love it and we know you will too. Before I go on to show you what we did for this blog I want to announce our first ever Link Party. We will be hosting a link Party on Tuesdays right here at Sew Stylish Boutique So don't forget to stop by and party with us. We hope to see you all there!


This hair style is so fun and beautiful. You can have fun with it, dress it up or down it's up to you. The finger waves are a throw back to the 1920s but with a modern twist.  First I'll tell you how to do finger waves.

What you will need...
Wet and Clean hair ( You can do finger waves on all most any length hair short or long)
Strong hold hair gel.
Duck bill clips or double prong clips.  If you don't have these then you can use bobby pins.
Last you need a comb.


Smooth the hair gel into the hair.  Use a lot of gel  in the area the finger waves will go.  The hair will almost feel saturated with hair gel. In the back of your head you wont need to put much gel at all, just a little.

Here is he part it gets technical.  First you need to part your hair in a straight line where ever you like it to be.  Comb the hair straight,  then take the comb place the teeth of the comb in your hair close to the part in your hair.  Take the comb and slide it forward, dragging it in your hair over about an inch.


The next step is to place your finger over the curve in the hair where the comb was sitting.  Hold the hair in place like shown in the picture.


Place the comb under you finger, with the teeth of the comb grabbing the hair and drag the comb back in the other direction. Don't let up you finger while you do this.  You must hold the S wave secure with you fingers and the comb.


Now you have your first wave, place your other finger in the hair over the comb to hold the hair in its positon.
Do the same step with the comb again and pull the hair on the other side of you second finger towards your face.
Now is when the clips come in.  Use the clips to secure the wave pattern.


The clips should be placed in the wave the direction the wave is going.


Repeat all the steps, placing waves until you reach behind the top of your ear.
do the same proses on the other side of your head...


Now you must do something with the back of your hair.  Take sections into your hand, comb them straight raise the hair over your head and start to wrap the ends of your hair under. Roll the hair using your fingers all the way down to the scalp.  Pin the loop of hair into place on both sides.


Repeat this step until all of the hair has been rolled and pined.


This must dry now.  You have a few options of doing this.  If you have a hooded dryer then sit under it on high until dry,  use a blow dryer on low so it wont blow all you hair out, or a diffuser on the end of your dryer, lastly you can sleep in it.  Just wrap a handkerchief or a nylon stocking around the finger waves so the  don't get disturbed. 


When the hair is all dry you can take the clips out, the waves should be held in place by the hair gel.


It is kind of cute just like this.


The last thing is to comb it out.  In the back just separate the curls with your fingers.
  Use a little hairspray if needed but have fun. Enjoy your hair. 
"A woman's hair is her joy."


Tuesday, July 19, 2011

The 3 Minute UP DO


The 3 minute up do is one that I do all the time when I don't know what else to do with my hair.  But the best thing about it is i can pick one of  the many unique headbands we make to wear in it.  


Come check our store to see all the neat things you can do with this headband.


For the up do I will start with a tip.  When you are doing an up do all ways start with clean hair!  As a hairstylist I hate it when people are told they need dirty hair to make an up do last.  Who ever tells you that before you come to me for a style, I will wash your hair first.. A good stylist has may tricks up her sleeve to make your hair stay.  One is Back Combing.  You should do this every time you do an up do.

You don't need to curl or straighten your hair for this up do.  Just let your hair air dry.  Take a comb and hold it 2 or 3 inches form your scalp and rapidly move your comb up and down. Do this in sections all the way up your head.


See how full and thick my hair looks.


Using a hair tie pull your hair up in a louse pony tail but don't pull all the ends of your hair threw the hair tie. it will look like a messy bun.


Make sure the hair is loose.


Start by taking the long peaces of hair and pinning them with bobby pins.


To hide the ends of the hair I wrap the ends around the bobby pin and then tuck the pin down under the hair at the scalp.


Take and shape the hair the way you like with you fingers and just keep pinning your hair until it looks the way you like it.


Don't forget to finish it with a flower


Related Posts Plugin for WordPress, Blogger...

Popular Posts