CLICK HERE FOR FREE BLOGGER TEMPLATES, LINK BUTTONS AND MORE! »
Showing posts with label Tutorials. Show all posts

Thursday, January 5, 2012

Fun Little Snapy Bag Tutorial


So these bags are so fun, easy to make, and have so many little uses. 
The opening opens up and snaps shut as soon as you let it go.  It is so fun to play with with you will fidget with it all day.  The best part is they are fast, cheep and easy to make.  You will love to make them and give them to your friends.

You need some scrap fabric. 
Cut it into one 14"x7" rectangle.
Two 7"x3" rectangles.
Two 4"x4" squares.
Two 6" cut pieces of tape measure (from the dollar store).


First take the 7"x3" rectangle fold in half length wise right sides together. Sew along the seem. Make sure you have enough room to slide you tape measure in the rectangle.  This is the casing for the measuring tape. do the same to the other one.


Next take the square, fold it into a triangle.


Fold the triangle in half. It will look like this...


Place the triangle on the short edge of you larger rectangle of fabric. 


Place the casing for the measuring tape you just sewed on top of the triangle lining up the raw edges.


Pin and sews edges together. (you can add the measuring tape before you sew, get as close to the tape as you can with ought hitting it with your needle. Or you can sew the pieces together with ought the tape, just remember to sew on the inside of the seem you already placed on the casing for the measuring tape.


Do the same proses to the other end of the bag.


Now you have to add the measuring tape. When you do the the curved side, or convex side, of the tape measure needs to be facing the outside of the bag and the concave side will be facing the inside of the bag.


Fold the bag in half right sides together and pin the seems.  Be sure to pin the tape measure in place so you have enough seam allowance on either side.


Sew the seam and add a zig-zag stitch to secure it. Trim off the extra seam allowance.


Turn the bag right side out. Now you have a cute, fun, little, bag.  Hope you enjoy it.


Monday, December 19, 2011

Crafty Lassie Tuesday, Link Party #18

Merry Christmas everyone! Because of how busy we are for the Holidays Crafty Lassie Tuesday will be a bit different this time. To link up to our party you can just scroll down and link up to our Christmas party. Or you can click on the link here.  


There are no rules!  Link up what you want and how ever much you want, any post old or new.  This is our celebration bash!  The Bash will last threw to the end of December. 

Since we have family coming to visit us form Michigan we will be taking a break form the blog until the new year.  We are excited about the things we have planed so stay tuned.  

Happy Holidays!


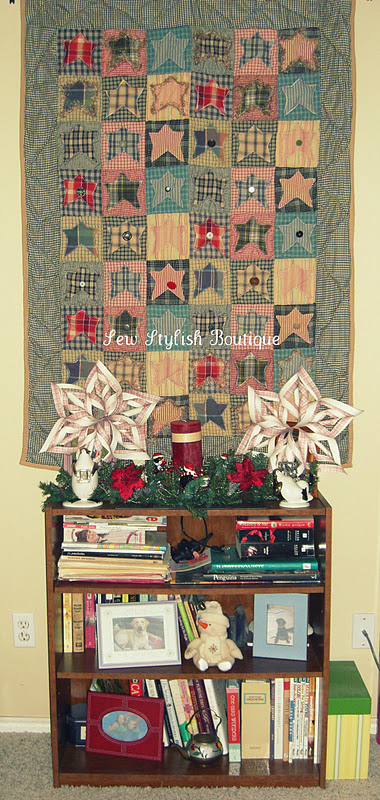
But just one thing! Remember these stars? Well we made some for Christmas and decorated with them around the house... Enjoy this tutorial, Have a Merry Christmas and Happy New Year!


Supplies Needed:

Paper (any type) Red, White, Blue
Scissors
Hot glue
Hot glue gun
Ribbon


Take your first piece of paper, I used scrapbook paper 12 x 12.


Fold it in half.


Fold it in half again.


Now cut out the four squares you just made, by folding the paper.


You will need 6 squares. 


Fold your square to make a triangle.


Cut starting where you made the fold up one side. Make sure you don't cut all the way up. Then go to the other side and make another cut.


Repeat 2 more cuts on both sides.


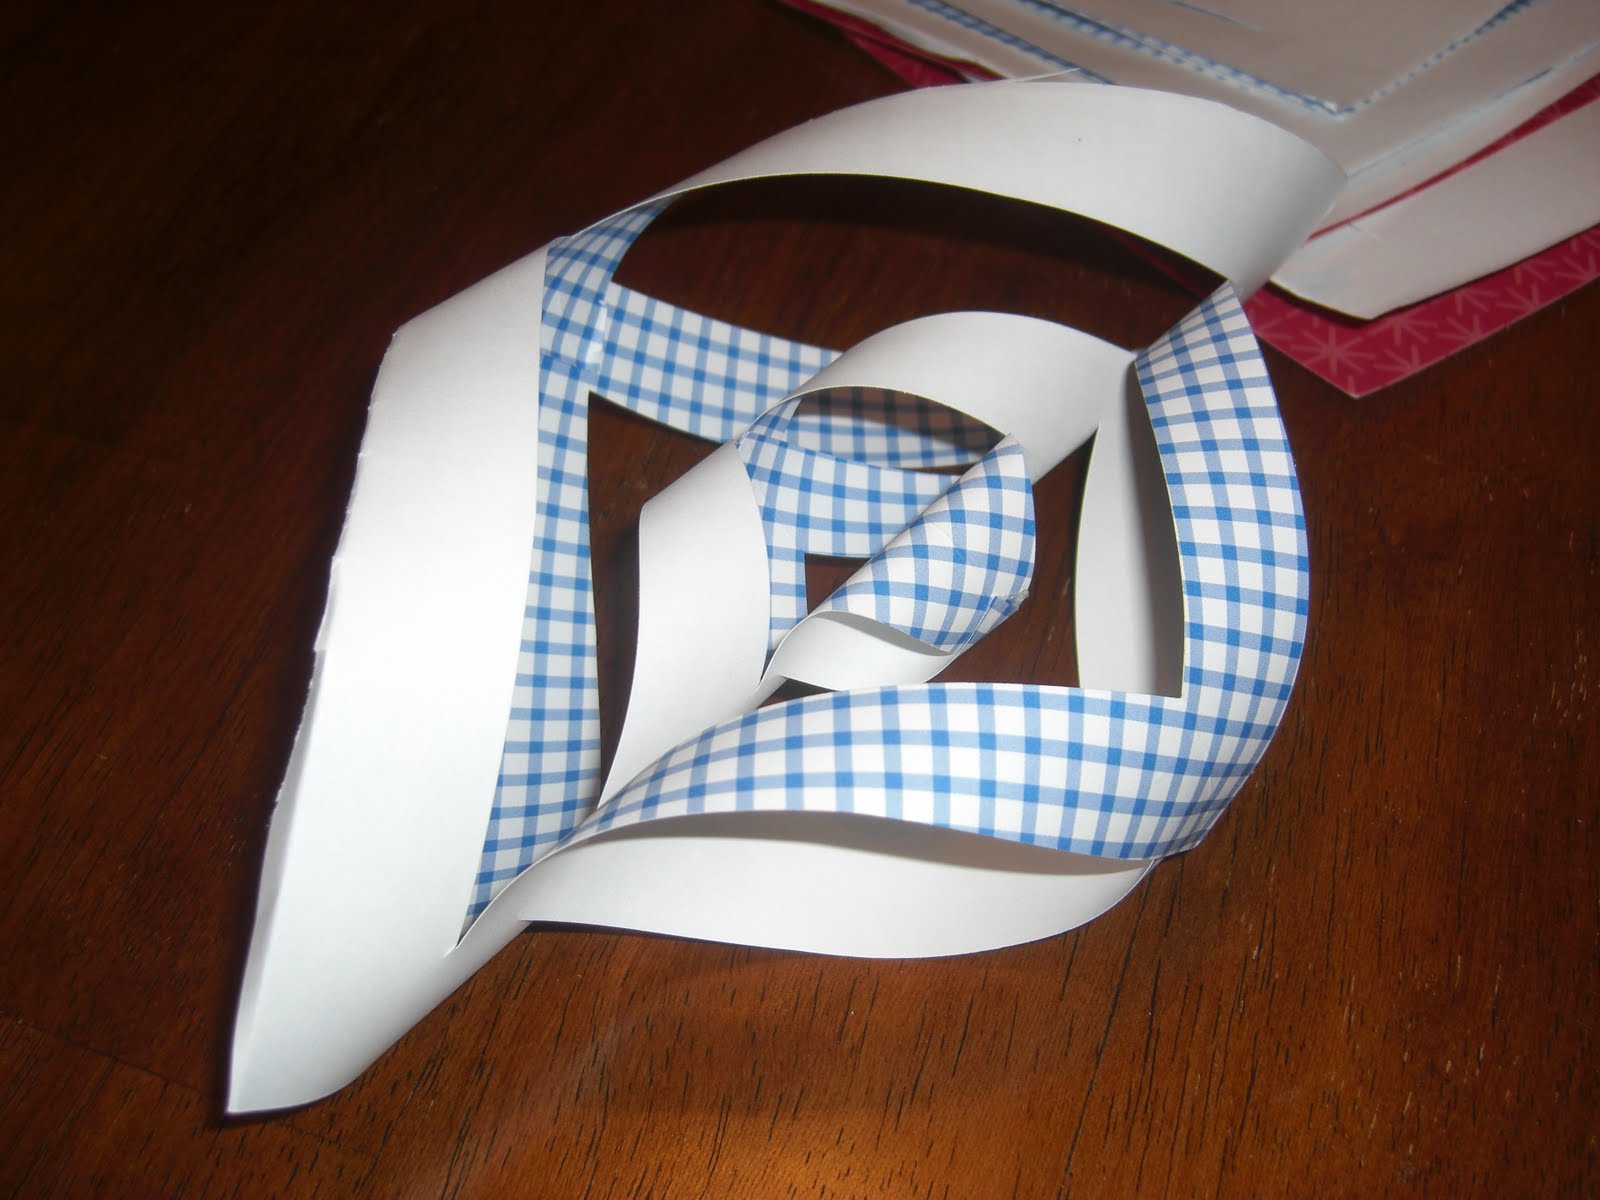
This is what you should have.


Unfold the triangle. 


Starting from the middle, glue your points together.


Then flip it over and glue the next two points together.


Then you will flip it again and glue those two points. Flip it once more and glue those two points together. it should look like this when you are done.


Once you have all 6 squares glued we will start building the star.


Take the ends and glue three ends together.


Three ends glued together, repeat this with the other three pieces.


Now you will glue both of the three sides you just glued together. Take the points and glue them together.


Now you will go around in a circle and glue the start together. That way it all stays put, you will do this by gluing all the squares together with the outside pieces.


Take some string, ribbon, tulle, what ever you want and put it through at a point...


.... and hang it up!


You can make these for any holiday! I made a bunch of these at Christmas time and hung them in our front room window. They look great as a snowflake! But we also like them as a star.


If you make one please share it on our Flickr group. We love seeing what everyone makes!


Related Posts Plugin for WordPress, Blogger...

Popular Posts