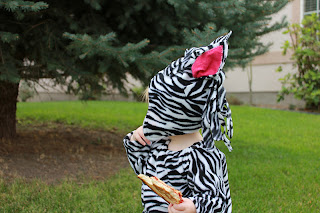
My baby girl, Georgia is a Zebra for Halloween this year and I
have made her outfit, here is how I did the hat. If you want to see how I made the outfit you can check out the tutorial here
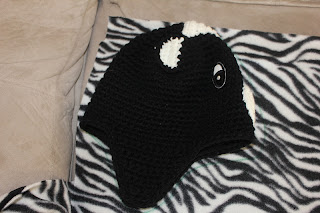
First I took one of Georgia's hats and used it as a pattern.
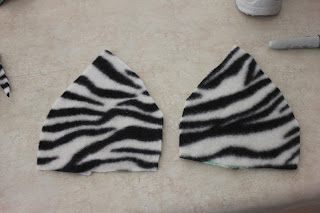
This way the hat will stretch over you child's head. Trace and cut out
two halves.Cut out 2 more pieces that will cover the bottom half of the hat.
Measure and cut 2 strips of fabric for the mane. These will go along
the back of the hat so don't make them too long.Ears: I just free handed a couple. You don't have to be exact.
Lay out the ear flap over the bottom of the hat, right sides to
gether, lining up the edges.
Pin and sew only along the bottom of the hat. Don't sew up the side!
Turn right side out and top stich the two sides together.
Do this to the other half of the hat.
Place one side of the hat right side up. Take the mane pieces also
right sides together and lay them down on the hat. The long part of
the mane going inside the hat.Place the other side of the hat on top. Pin the edges together and
sew. This is a lot layers so go slow.Once sewn trim off excess seam allowance. Then turn right side out.
For the ears with a zig zag stitch sew some pink felt, or other fabric
to the inside of the ears.Now gather the bottom of the ear and hand sew together.
Place one hand inside the hat and position the ear were you want it
and hand sew the ear to the hat.
Your dun.
Have fun.















No comments:
Post a Comment
We LOVE comments! It makes are day happy!